Welcome to my EdTech blog!

Category: Free Inquiry

This is the category to apply to your Free Inquiry posts.

Final Reflective Inquiry Post

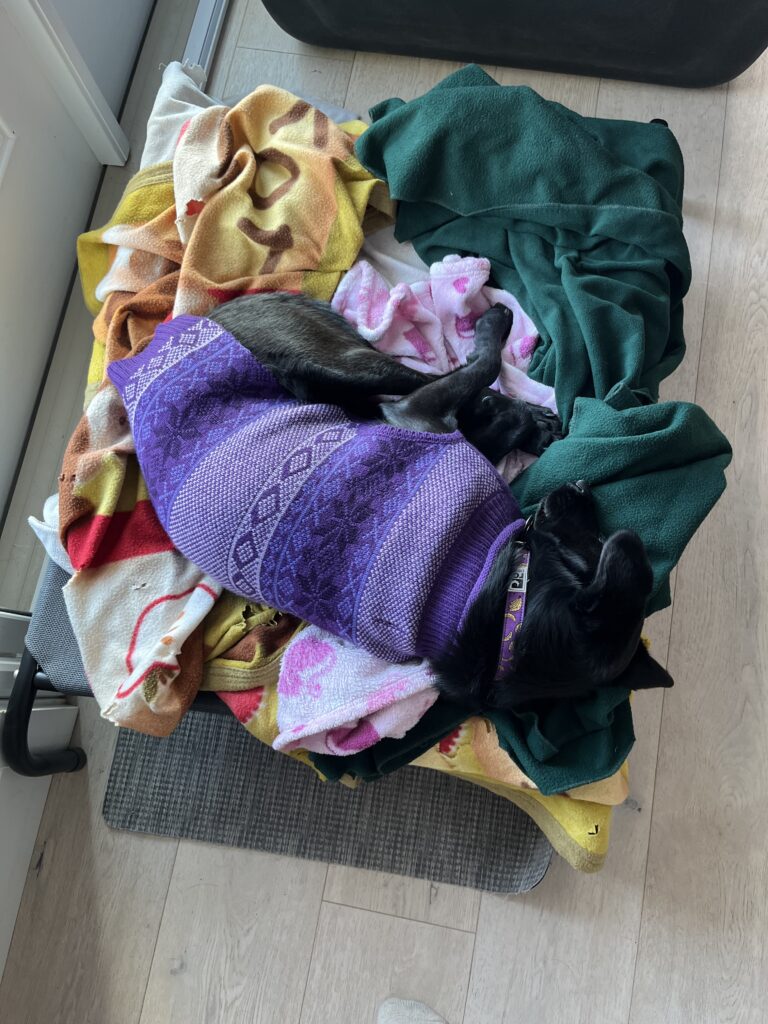
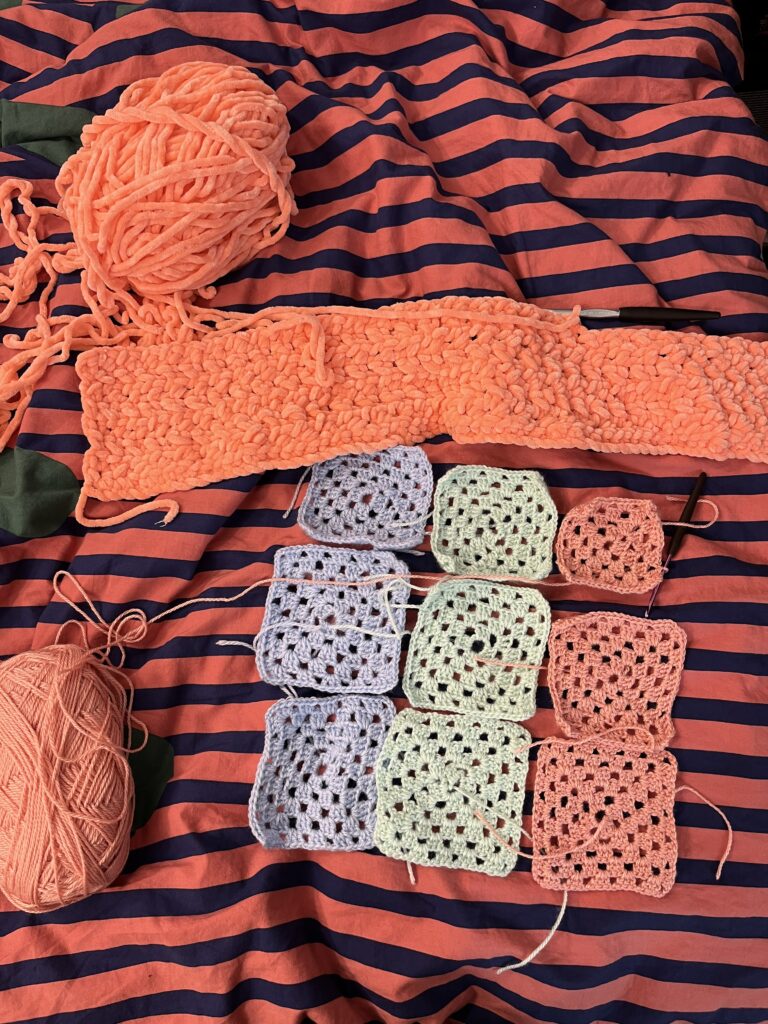
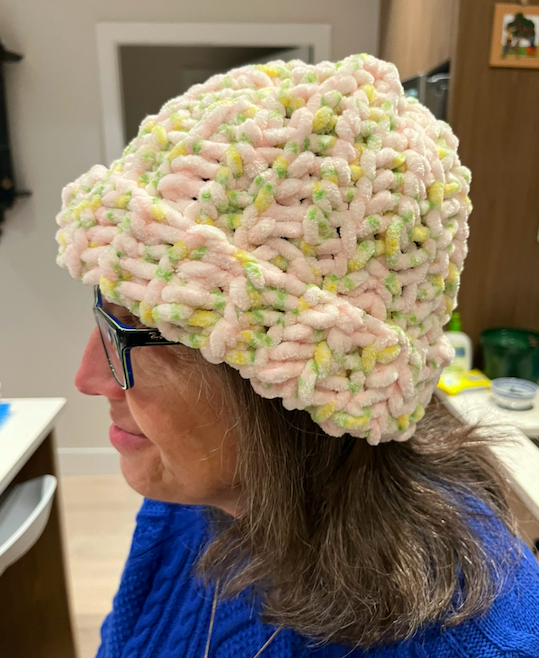
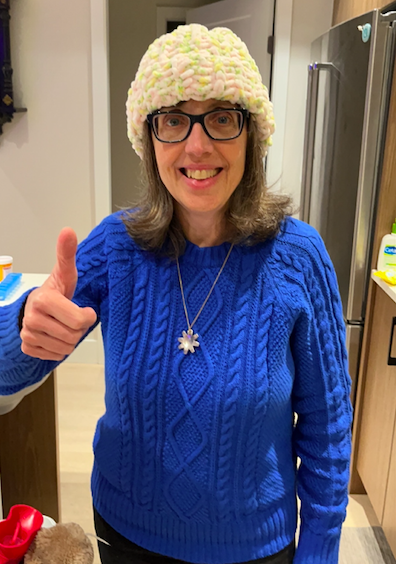
All in all, I have really enjoyed doing my free inquiry. Crocheting is something that I have been wanting to get into for the past few years, but I always found myself pushing back on it due to how busy I was. While I was not able to accomplish my goal of finishing crocheting a sweater for my dog, I learned how to do several different stitches, am well on my way to completing the sweater, crocheted a toque, and started to crochet a blanket. I feel very happy with the accomplishments that I have been able to make during this inquiry! I think I will be able to finish the sweater for my dog soon, although she may not be needing it until next winter at this point. I hope to keep working on the blanket as well. I have found crocheting to be a very relaxing activity, and have found myself working on it to unwind or as something to do with my hands while I watch TV. I am very grateful that this free inquiry gave me the push to allot time in my weeks to work on building this skill that I have always wanted to acquire. I enjoyed looking for accessible tutorials to help me learn to crochet, and found that I had higher standards when looking for these videos as I wanted to find videos that were accessible. Since I was not able to finish crocheting the sweater for my dog, I have attached a photo of her sleeping in her other sweater.

More Crochet

In the past week, I mostly worked on making more granny squares. I did not have too much time since I was working on catching up on assignments and work from when I was sick, but I am now up to 9 granny squares! It is hard to tell exactly how many I will need to make the sweater, but I think I will need quite a few more. I also started to make a small blanket with the chunky yarn and 9.0mm crochet hook. I lost track of how many I chained to start the blanket, but I then learned how to do a half double crochet in a cross stitch pattern which I used to make the rest of the rows. I was able to get about 15 rows done, which is a good start! This is a bit of a side project and will likely take quite a while to make a full length blanket. I used a video to learn how to make the blanket which was very accessible. It had chapters marked for each part of the process and had subtitles, making it easy to follow even without sound. I’m hoping to have more time to complete the granny squares and make the sweater very soon!

Crochet Blanket Tutorial

My Crochet Progress

Learning to Make Granny Squares

I was sick for the past week, which gave me a lot of time to practice my crocheting. I was finally able to figure out how to make granny squares, and made a couple. I used my 4.0mm crochet hook and thin yarn, creating my slip knot and getting started. I realized that it may be easier to create the magic circle if I started with a longer chain, so rather than chaining 4 I chained 8. After this, I slipped the hook through my first chain and pulled the yarn through, creating my circle! I was then able to realize that each side of my square should be made of 3 double crochets. To start this first round, I chained three, then did two double crochets. This created the first side of my square. To get to the next side of my square, I chained 3 to create the corner. Once I had my corner, I did three double crochets to create the next side. I then repeated my corner and created the last two sides for this round. My first granny square was not perfect, as I got lost in the rounds and was not able to finish each round before starting the next one, creating a bit of a spiral. For my next granny square, however, I realized I needed to end each round before beginning the next. To do this, I would slip the hook through the first loop on the first side of the round after finishing the last side. Then, I would loop the yarn onto the hook and pull it through. I continued this, making about 4 rounds for the granny square. Once I reached the end, I would end the round as usual before cutting the yarn, chaining one more and pulling the yarn through to close the square. I repeated these steps for each of my granny squares. This progress was great for me, as I am now one skill closer to being able to complete the dog sweater I am working towards!

Photo by rocknwool on Unsplash

Crocheting a Toque

This week, I was able to make much more progress in my crocheting. As I mentioned I was going to do in my last post, I went to get bigger yarn and a bigger crochet hook. I landed on a 9.0mm hook and bulky yarn. Once I had purchased these materials, I decided to try and crochet something a bit easier than a granny square. I looked up a tutorial about how to crochet a toque and I got to work! I found the tutorial below on Youtube. The video was accessible with the subtitles available, however it would have been nice if the different steps had been marked as chapters on the video to make it easy to review past steps or jump to future steps. The pattern used in the tutorial was also linked in the caption of the video, allowing me to both read about the pattern and follow the steps laid out in the video. 

Crochet Tutorial by Jonna Martinez on Youtube

Similar to the granny square, the first step for this was creating a slipknot. After this, I had to chain 27. Then I learned a new stitch, the half double crochet. This involved looping the string on the hook and going back down the chain to insert the hook in one of the previous chains. I then had to hook the string, pulling it through the chain before hooking the string again to pull it back through the three loops on my hook. I was able to catch on to this pretty quickly. I then had to continue doing this up and down the chain until I had created about 25 rows. Once I had these, I was able to begin putting my toque together! I laid the material flat, folded it in half, and crocheted along one of the edges to create something that looked like a neck gaiter. After this, I had to use the string to loosely stitch through ribbed portions of the hat before pulling the string to bunch together the top. After this, I did some additional crocheting to ensure that the top of the hat stayed closed and to loop in the end of the yarn so that it would not hang out. After this, I flipped the toque inside out and it was finished! Since this was my first try, the top of the toque was a bit messy, and the pattern of the toque was not completely even. Overall, this process made me feel much more confident in my crocheting. I gave the toque to my mother, and I was happy to see that it seemed to be the right size! Next week I think that I will go back to trying to create a granny square in order to try and work towards my original goal of crocheting my dog a sweater.

Attached below are the photos of my mother with the toque I crocheted for her.

Starting to Crochet

Over the course of this week, I began crocheting. It proved to be much more difficult than I anticipated. Following a tutorial, I learned how to make a slip knot to begin my crocheting. I was able to create a chain, and became accustomed to the process of pulling the yarn through the small loops. It all seemed to go a bit downhill, however, when it came to creating the centre of the granny square. To create a granny square, you must pull the crochet hook through your first chain, hooking the yarn and pulling it through both the loop and first chain. This is a double crochet. I was able to do this and create a circle with an empty center, however, I then struggled trying to create square sides. I was able to create the chain, but was not able to switch directions in order to create all the different sides. I think that this has to do with the size of the crochet hook and yarn, as I went for thinner yarn and a smaller hook. Next week I will be going to get a bigger hook and yarn, as some feedback from my peers suggested that this may help the process become easier for me. I may also have to shift my end goal to a different project if the granny squares prove to be too challenging for me. One suggestion provided to me was creating a toque or scarf, which may be easier as it would not require the same techniques that granny squares require. I think for now I want to give another try at creating granny squares using bigger yarn and a bigger hook.

I used the video attached below to supplement the tutorials I got from my friends. The video seemed to be quite accessible, with time stamps on all the different parts of the tutorial and subtitles available. Everything was very clearly shown while it was talked about to allow for a visual model. I found the video quite helpful when seeking clarity on parts that I was confused about in the tutorials from my friends.

Collecting the Materials

This week I was able to get started learning about crocheting. I talked to one of my friends who crochets, and she made a few tutorial videos to send me to help me get started. I did not have much time this week to start working on my project, but I went to buy the materials for my free inquiry. I went to Michaels and got a 4.0mm crochet hook and some thin yarn. I got a couple of different colours following a pastel palette. I have decided to start working on my project by creating granny squares, then sewing them together to create something bigger. I will see how it goes making the granny squares and have decided to try and make a sweater for my dog if I am able to make enough squares. If not, then I will continue with making a dish towel or something more simple. The videos my friends sent me really helped me grasp the basics of crocheting, and I look forward to starting to work on putting it all to practice!

Photo by Karen Penroz on Unsplash

Learning to Crochet!

I have decided to make my free inquiry topic learning to crochet. I have never tried before, but I have a lot of friends who crochet and have always wanted to try! I’m very excited at taking this first step into learning a new activity that can allow me to make a lot of different things. I think it will be a great opportunity to pick up a new hobby that seems to be relaxing and a good way to wind down. I am a bit unsure of how good at it I will be, as I can sometimes be impatient with learning new things if I do not pick them up quickly. I’m hoping that these blog posts will also help keep me motivated to keep learning!

The first steps I have to take include getting the materials, and then I am going to work on learning how to begin crocheting. A few of my friends have offered to help teach me, so I will talk to them and look at some tutorials to learn how. I am going to start with trying to crochet something simple like a dish towel, and hopefully it opens a path for me to make other things!

Photo by JOONY on Unsplash

© 2025 EDCI 336 Inquiry

Theme by Anders NorenUp ↑